Water Damage Restoration Timeline
Water Damage Restoration Timeline:
What to Expect From Day 1 Through Day 7
Zeeland, MI
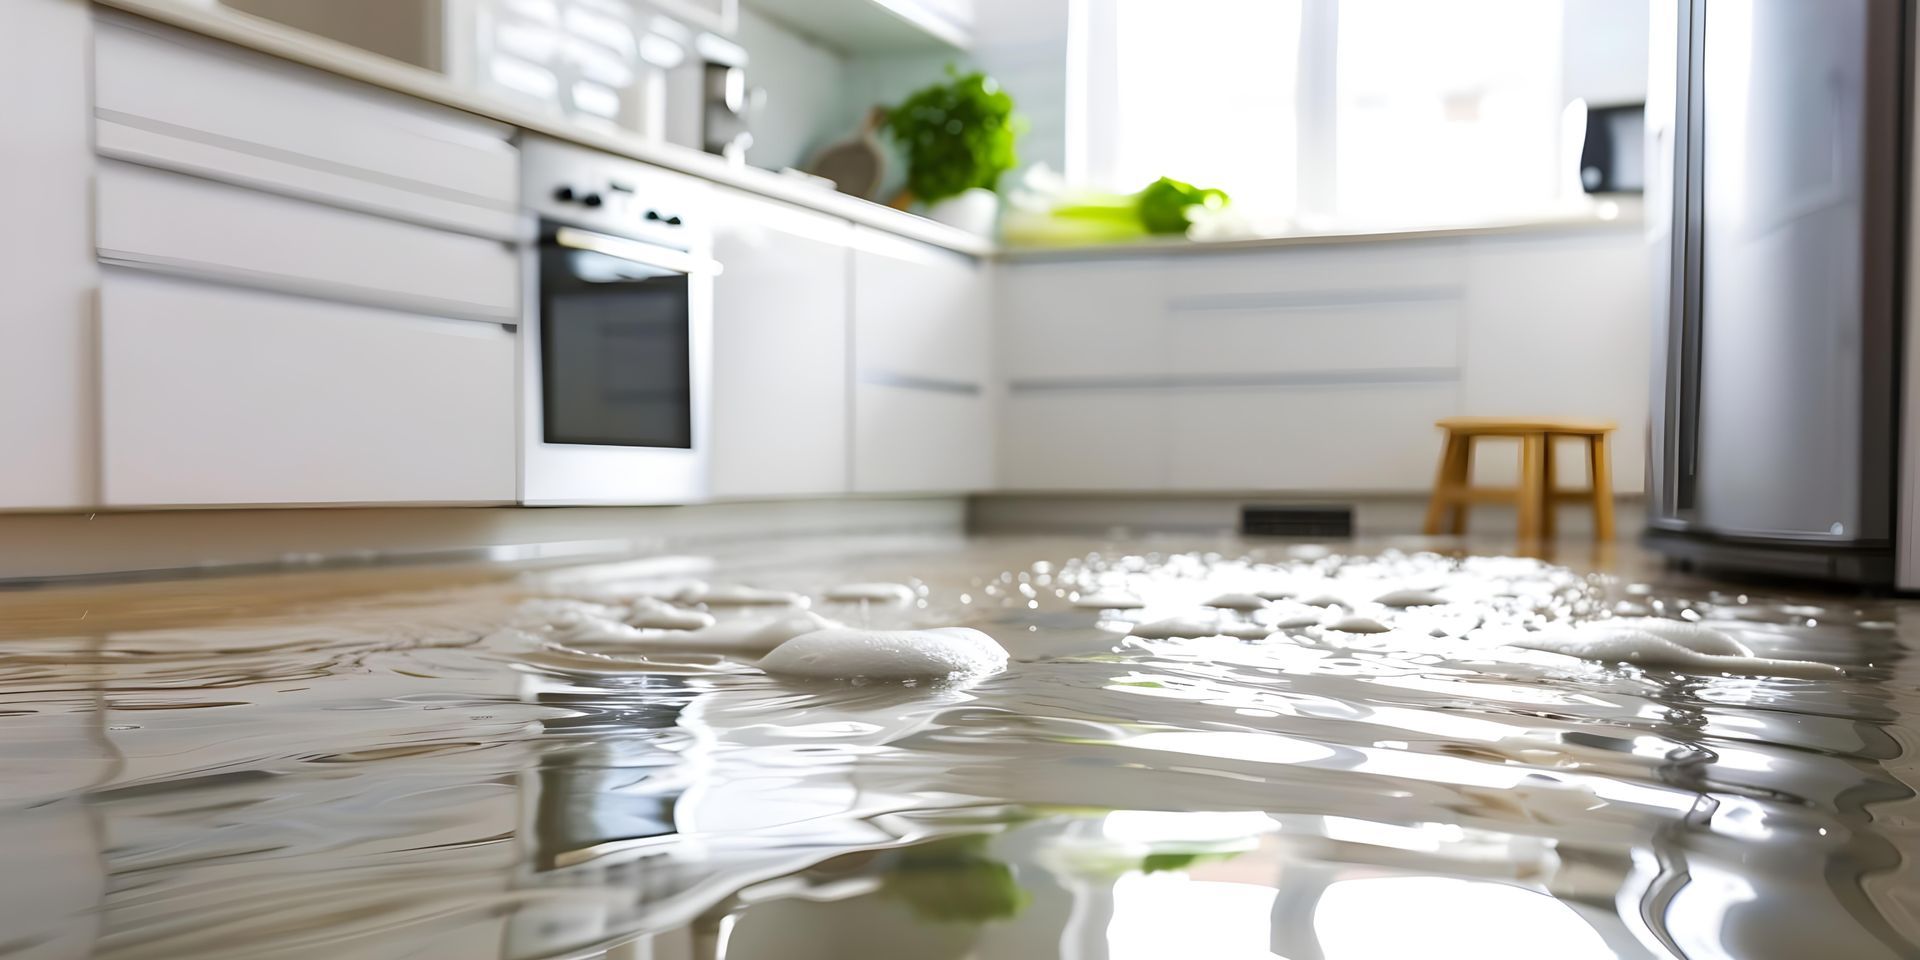
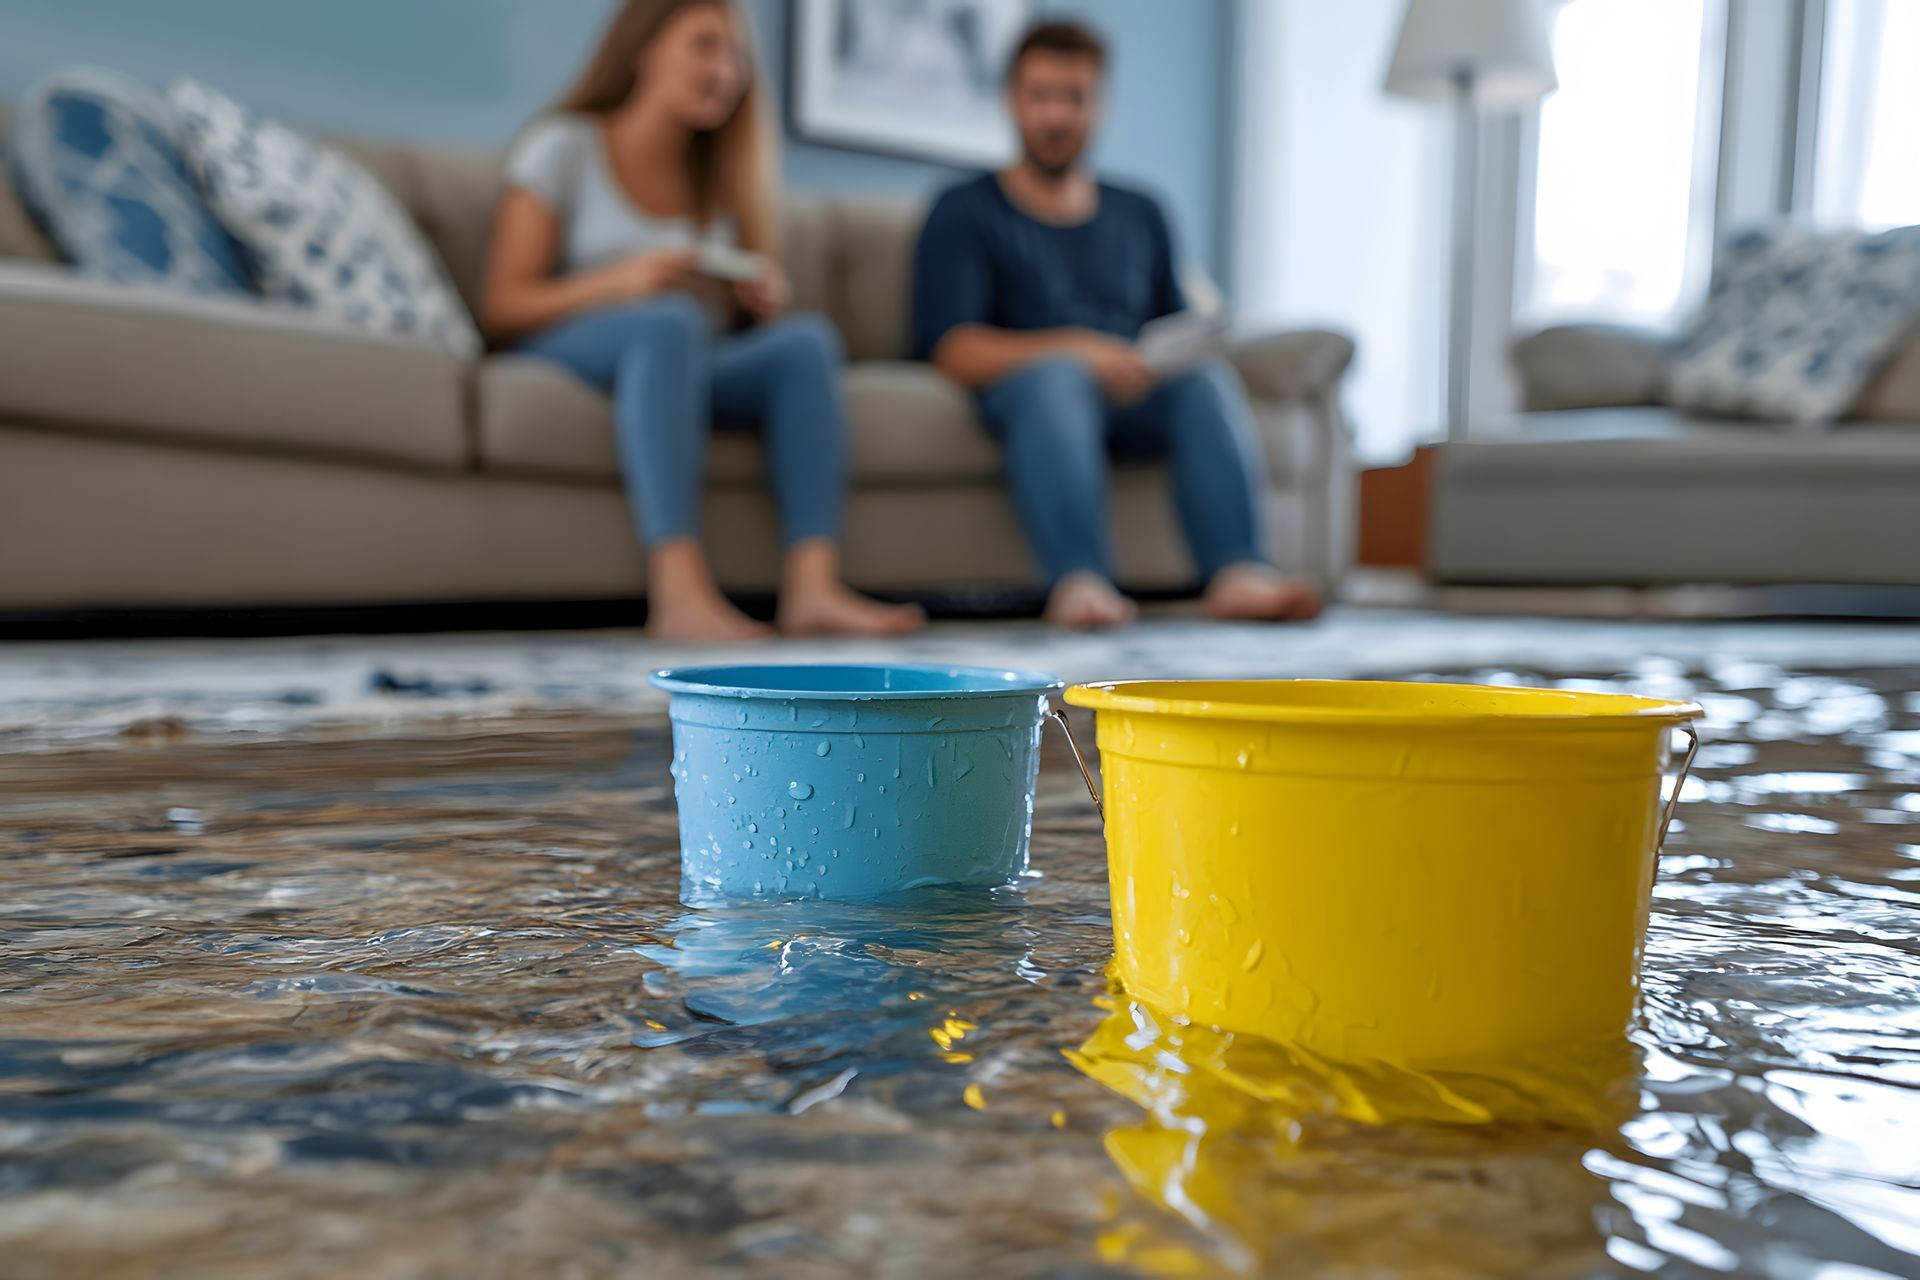
After a flood, leak, or overflow, most homeowners ask the same question: “How long will water damage restoration take?” The honest answer depends on how far the water traveled and what materials were affected—but the process usually follows a predictable timeline.
Here’s a clear, day-by-day breakdown of what a professional water damage restoration project often looks like in West Michigan, based on Restoration 1 of Lakeshore’s published guidance.
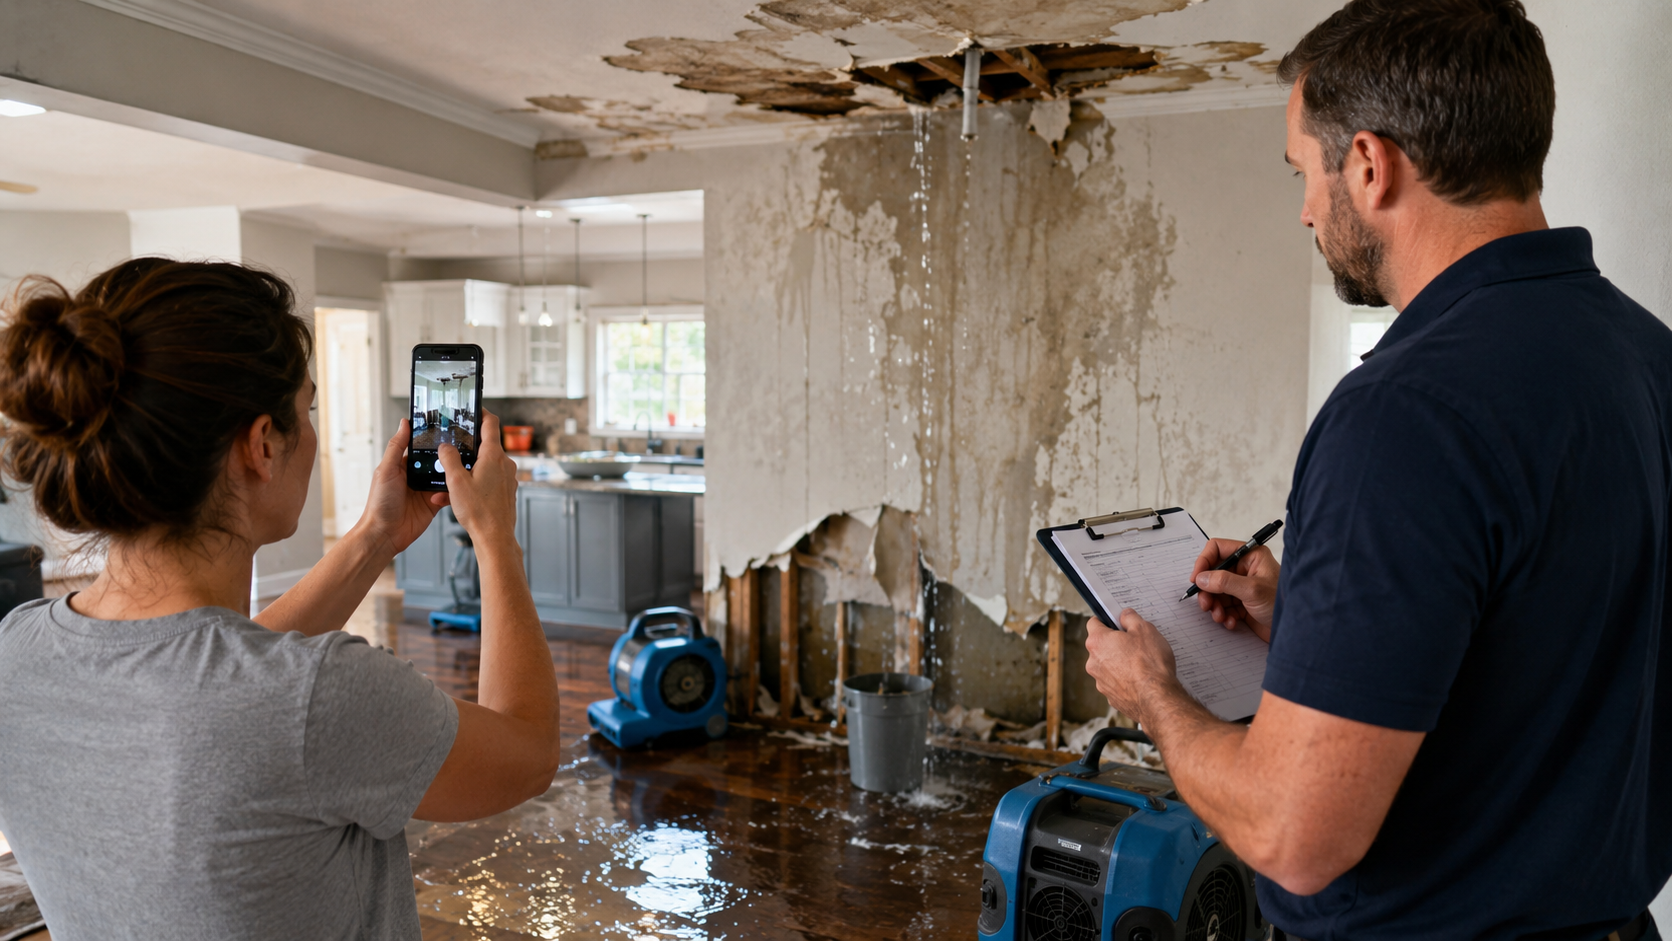
Day 1: Emergency response and damage assessment
The first day is about controlling the situation:
- Stop the water source (when possible)
- Inspect affected rooms and materials
- Identify safety concerns
- Begin planning the drying strategy
Restoration 1 of Lakeshore outlines Day 1 as emergency response and assessment to identify affected areas and begin the process.
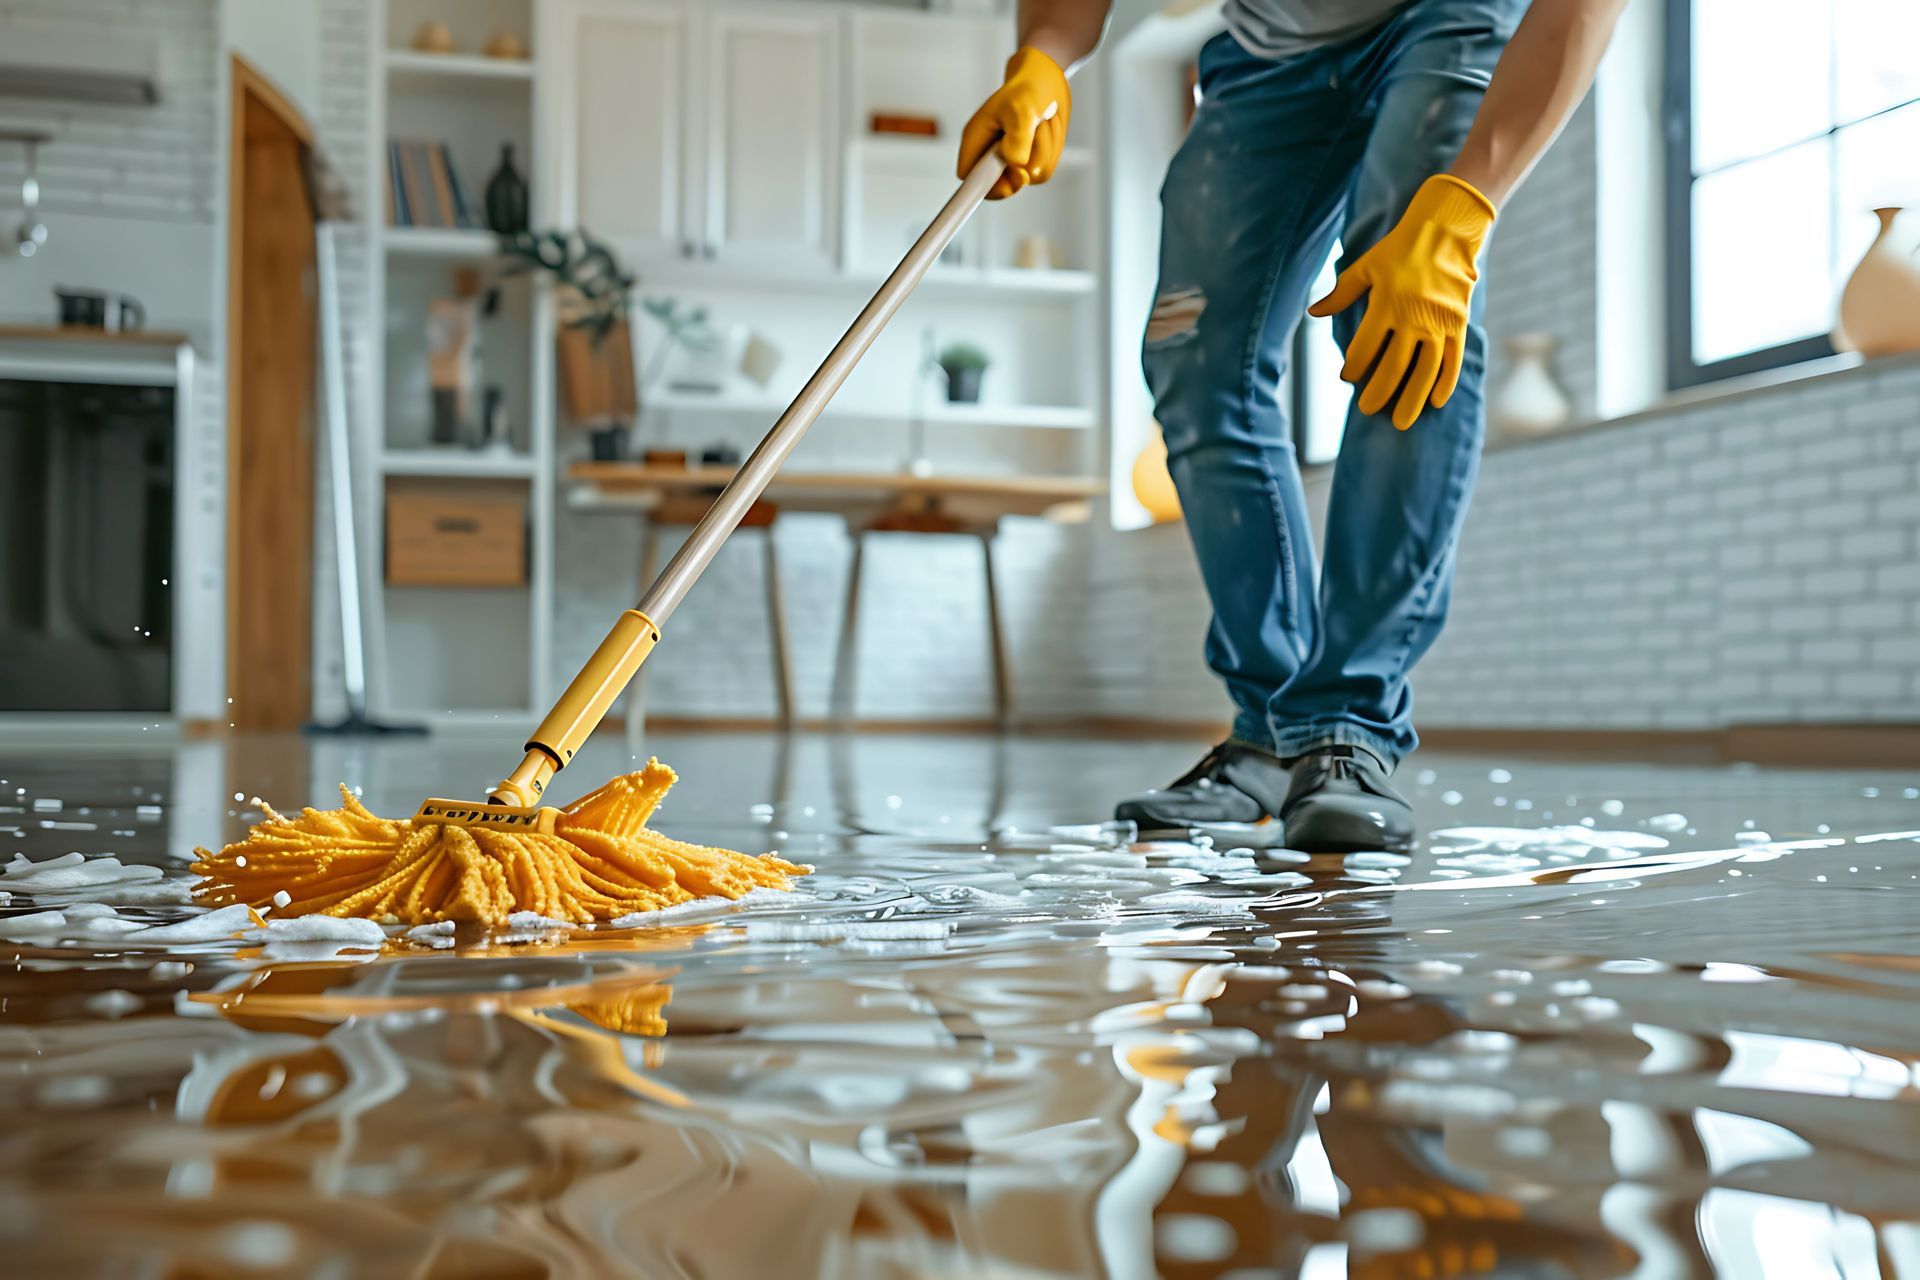
Day 2–3: Water extraction and moisture mapping
Once the plan is set, the goal is to remove as much water as possible:
- Extraction using professional pumps/vacuums (for standing water)
- Moisture mapping to find hidden wet zones (walls, floors, insulation)
Restoration 1 of Lakeshore describes extraction beginning on Days 2–3 and notes moisture mapping as part of the process.
Day 3–4: Drying and dehumidification
This is where water damage restoration really happens—getting moisture out of materials and air:
- Air movers to circulate airflow across wet surfaces
- Commercial dehumidifiers to pull moisture from the environment
- Adjustments based on readings and drying progress
Restoration 1 of Lakeshore notes Days 3–4 as drying and dehumidification using air movers and commercial-grade dehumidifiers.
Day 5: Monitoring, re-checks, and equipment adjustments
Water damage restoration isn’t “set it and forget it.” Pros monitor:
- Moisture levels in drywall, framing, and subfloors
- Humidity and temperature conditions
- Whether airflow and dehumidification need to change
This monitoring/adjustment step is specifically called out in their timeline guidance.
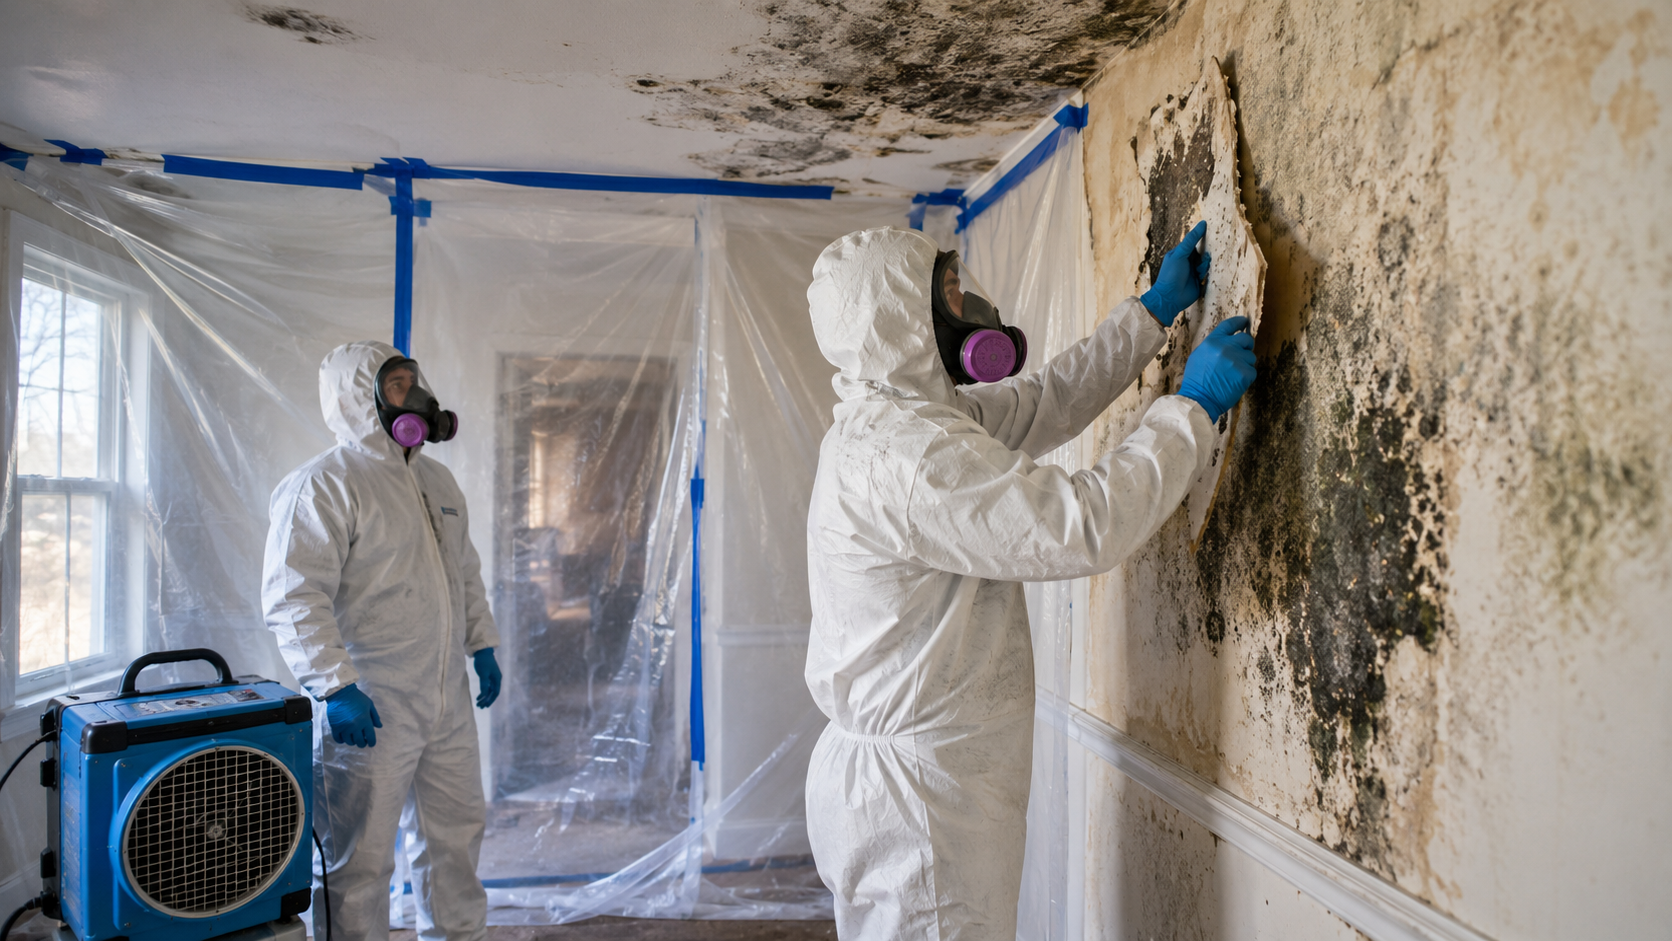
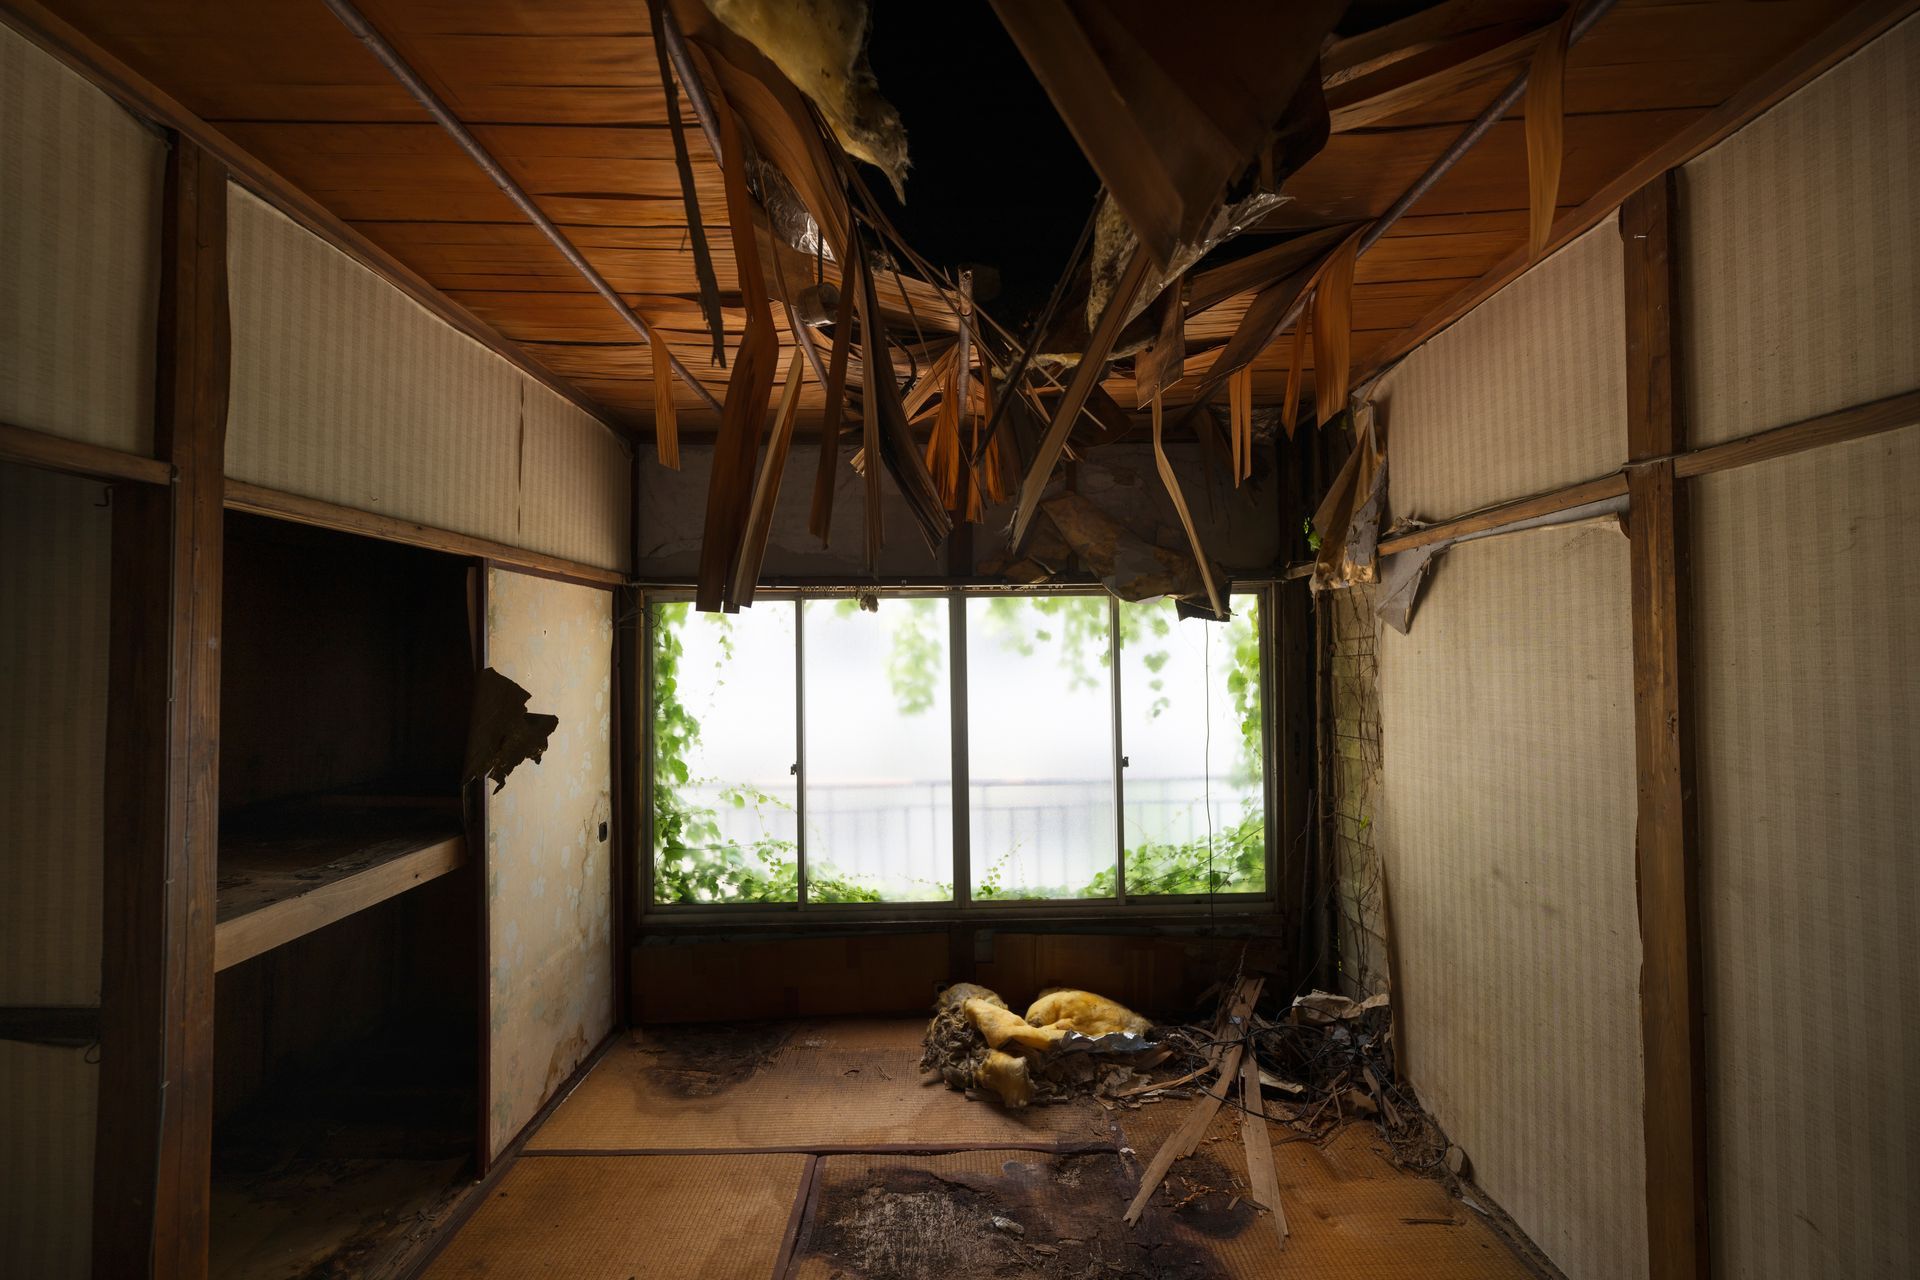
Day 6: Remove materials that can’t be saved (only if needed)
If some materials are too saturated or damaged, they may need removal:
- Swollen drywall sections
- Saturated insulation
- Flooring materials that can’t dry properly
Restoration 1 of Lakeshore lists removal of unsalvageable materials (like drywall or insulation) around Day 6 in their timeline overview.
They also explain why flood-damaged insulation often must be replaced because it can retain moisture and contribute to mold risk.
Day 7: Prep for repairs and the “restore” phase
Once the home is verified dry, the next steps often include:
- Final drying confirmation
- Sanitizing/odor control if needed
- Planning rebuild repairs (drywall, trim, paint, flooring, cabinets)
Why the timeline matters for preventing mold
A rushed rebuild before drying is complete can trap moisture behind new materials. Restoration 1 of Lakeshore emphasizes fast extraction and professional drying to reduce the chance of mold developing after water damage.
If you’re facing water damage in Zeeland or nearby West Michigan areas, Restoration 1 of Lakeshore offers 24/7 emergency service so the water damage restoration process can start before the damage spreads.